Calculation")


Your Friendly Guide
Arriving in the United States as an international student is exciting and a little overwhelming! One of the first things you should do after settling in is open a bank account. It’ll help you manage your finances easily and safely while you focus on your studies and campus life.
We’re here to make this process easy and stress-free.
Why Is a US Bank Account Important for Students?
Having a local bank account comes with several benefits:
- Send and receive money without hefty international fees
- Get paid if you work on-campus or during internship
- Use a debit card or online to pay for rent, bills, or purchases
- Track your spending using mobile banking apps
- Start building your financial profile in the US
In short, it makes your financial life in the US smooth and secure.
What Types of Bank Accounts Are Available?
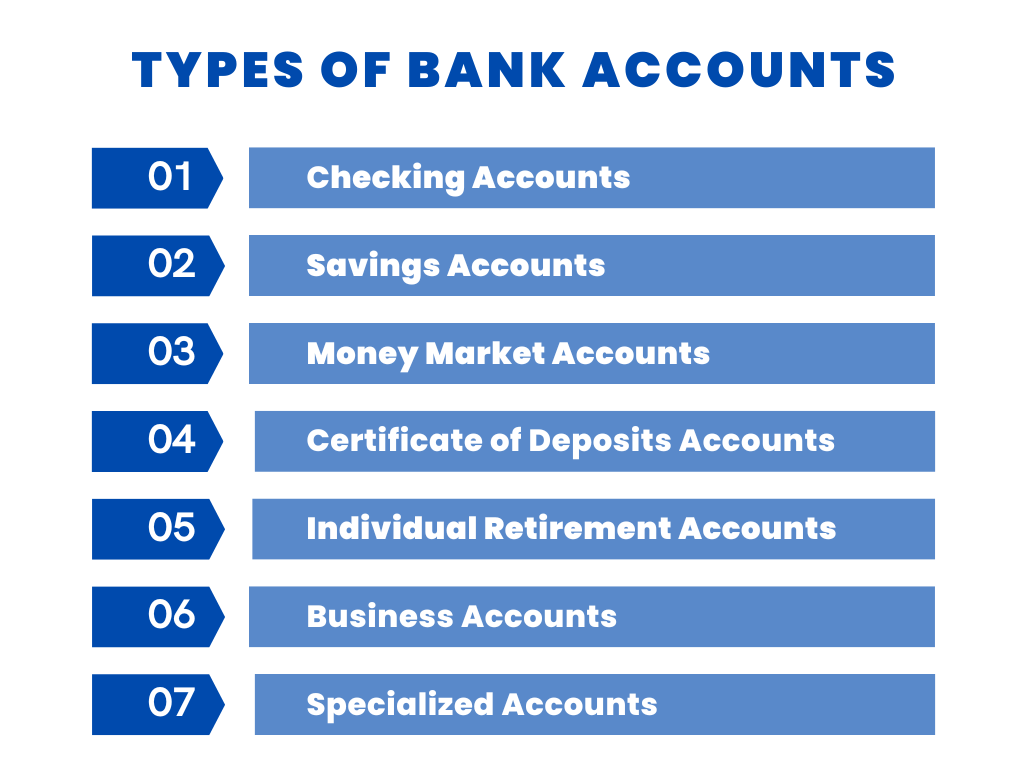
1. Checking Account
Perfect for day-to-day expenses like shopping, bills, or receiving money. These accounts come with:
- A debit card
- Online and mobile banking
- Free direct deposits
- Unlimited withdrawals
2. Savings Account
A savings account is the best option if you want to put money aside. It earns interest but limits withdrawals. Not essential right away, but good for long-term saving.
💡 Many banks offer student-friendly accounts with no monthly fees or minimum balance—ask for these when opening your account.
What Documents Do You Need?
When you visit a bank, take the following documents with you:
- Passport – Your primary ID
- Student Visa (F-1 or J-1) – Proof of legal status
- Your school’s Form I-20 (or DS-2019)
- I-94 Record – Download it at i94.cbp.dhs.gov
- Proof of US Address – Dorm letter, lease, or utility bill
- Student ID or Enrollment Letter – Confirms you’re enrolled
📝 Some banks may ask for a Social Security Number (SSN), but it’s not always necessary—especially for checking accounts.
How to Open a Bank Account: Step-by-Step
Step 1: Pick the Right Bank
Research and compare banks that are friendly to students. Good options include:
- Bank of America
- Chase
- Wells Fargo
- Citibank
- Capital One
- Local banks or university-affiliated credit unions
Look for banks that offer:
- No monthly service charges
- Free debit cards
- Online and mobile banking access
- Easy international wire transfers
Step 2: Apply online or visit a branch
Some banks let you apply online, but it’s often easier to go in person especially if you don’t have an SSN yet. Bring your documents, and a bank representative will help you set everything up.
Step 3: Make Your First Deposit
To activate the account, you may need to deposit a small amount (usually $25–$100). You can use:
- Cash
- Traveler’s checks
- Wire transfers from your home country
Step 4: Get Your Debit Card and Bank Info
Once your account is open, you’ll receive:
- A debit card (either right away or mailed to you)
- Online banking credentials
- Your routing and account number (for future transfers or deposits)
Helpful Tips
✅ Avoid ATM fees by using your bank’s network only
✅ Choose student accounts to avoid unnecessary charges
✅ Use online banking to monitor transactions and stay in control
✅ Understand your bank’s wire transfer rules if receiving money from abroad
✅ Keep your information updated with the bank to avoid issues
Final Thoughts
Opening a US bank account as an international student is not difficult—it just takes a bit of preparation. Once done, you’ll enjoy easier access to your money, lower fees, and greater financial freedom.
We’re all about making your student life in the USA smooth and successful. Need help with bank choices, paperwork, or anything else? We’re always here for you.